An official website of the United States government.
Looking for a way to reuse your outdated calendars from the Marine Debris Program Art Contest? Follow this step-by-step guide to transform the calendar, or any other scrap of paper, into an envelope.
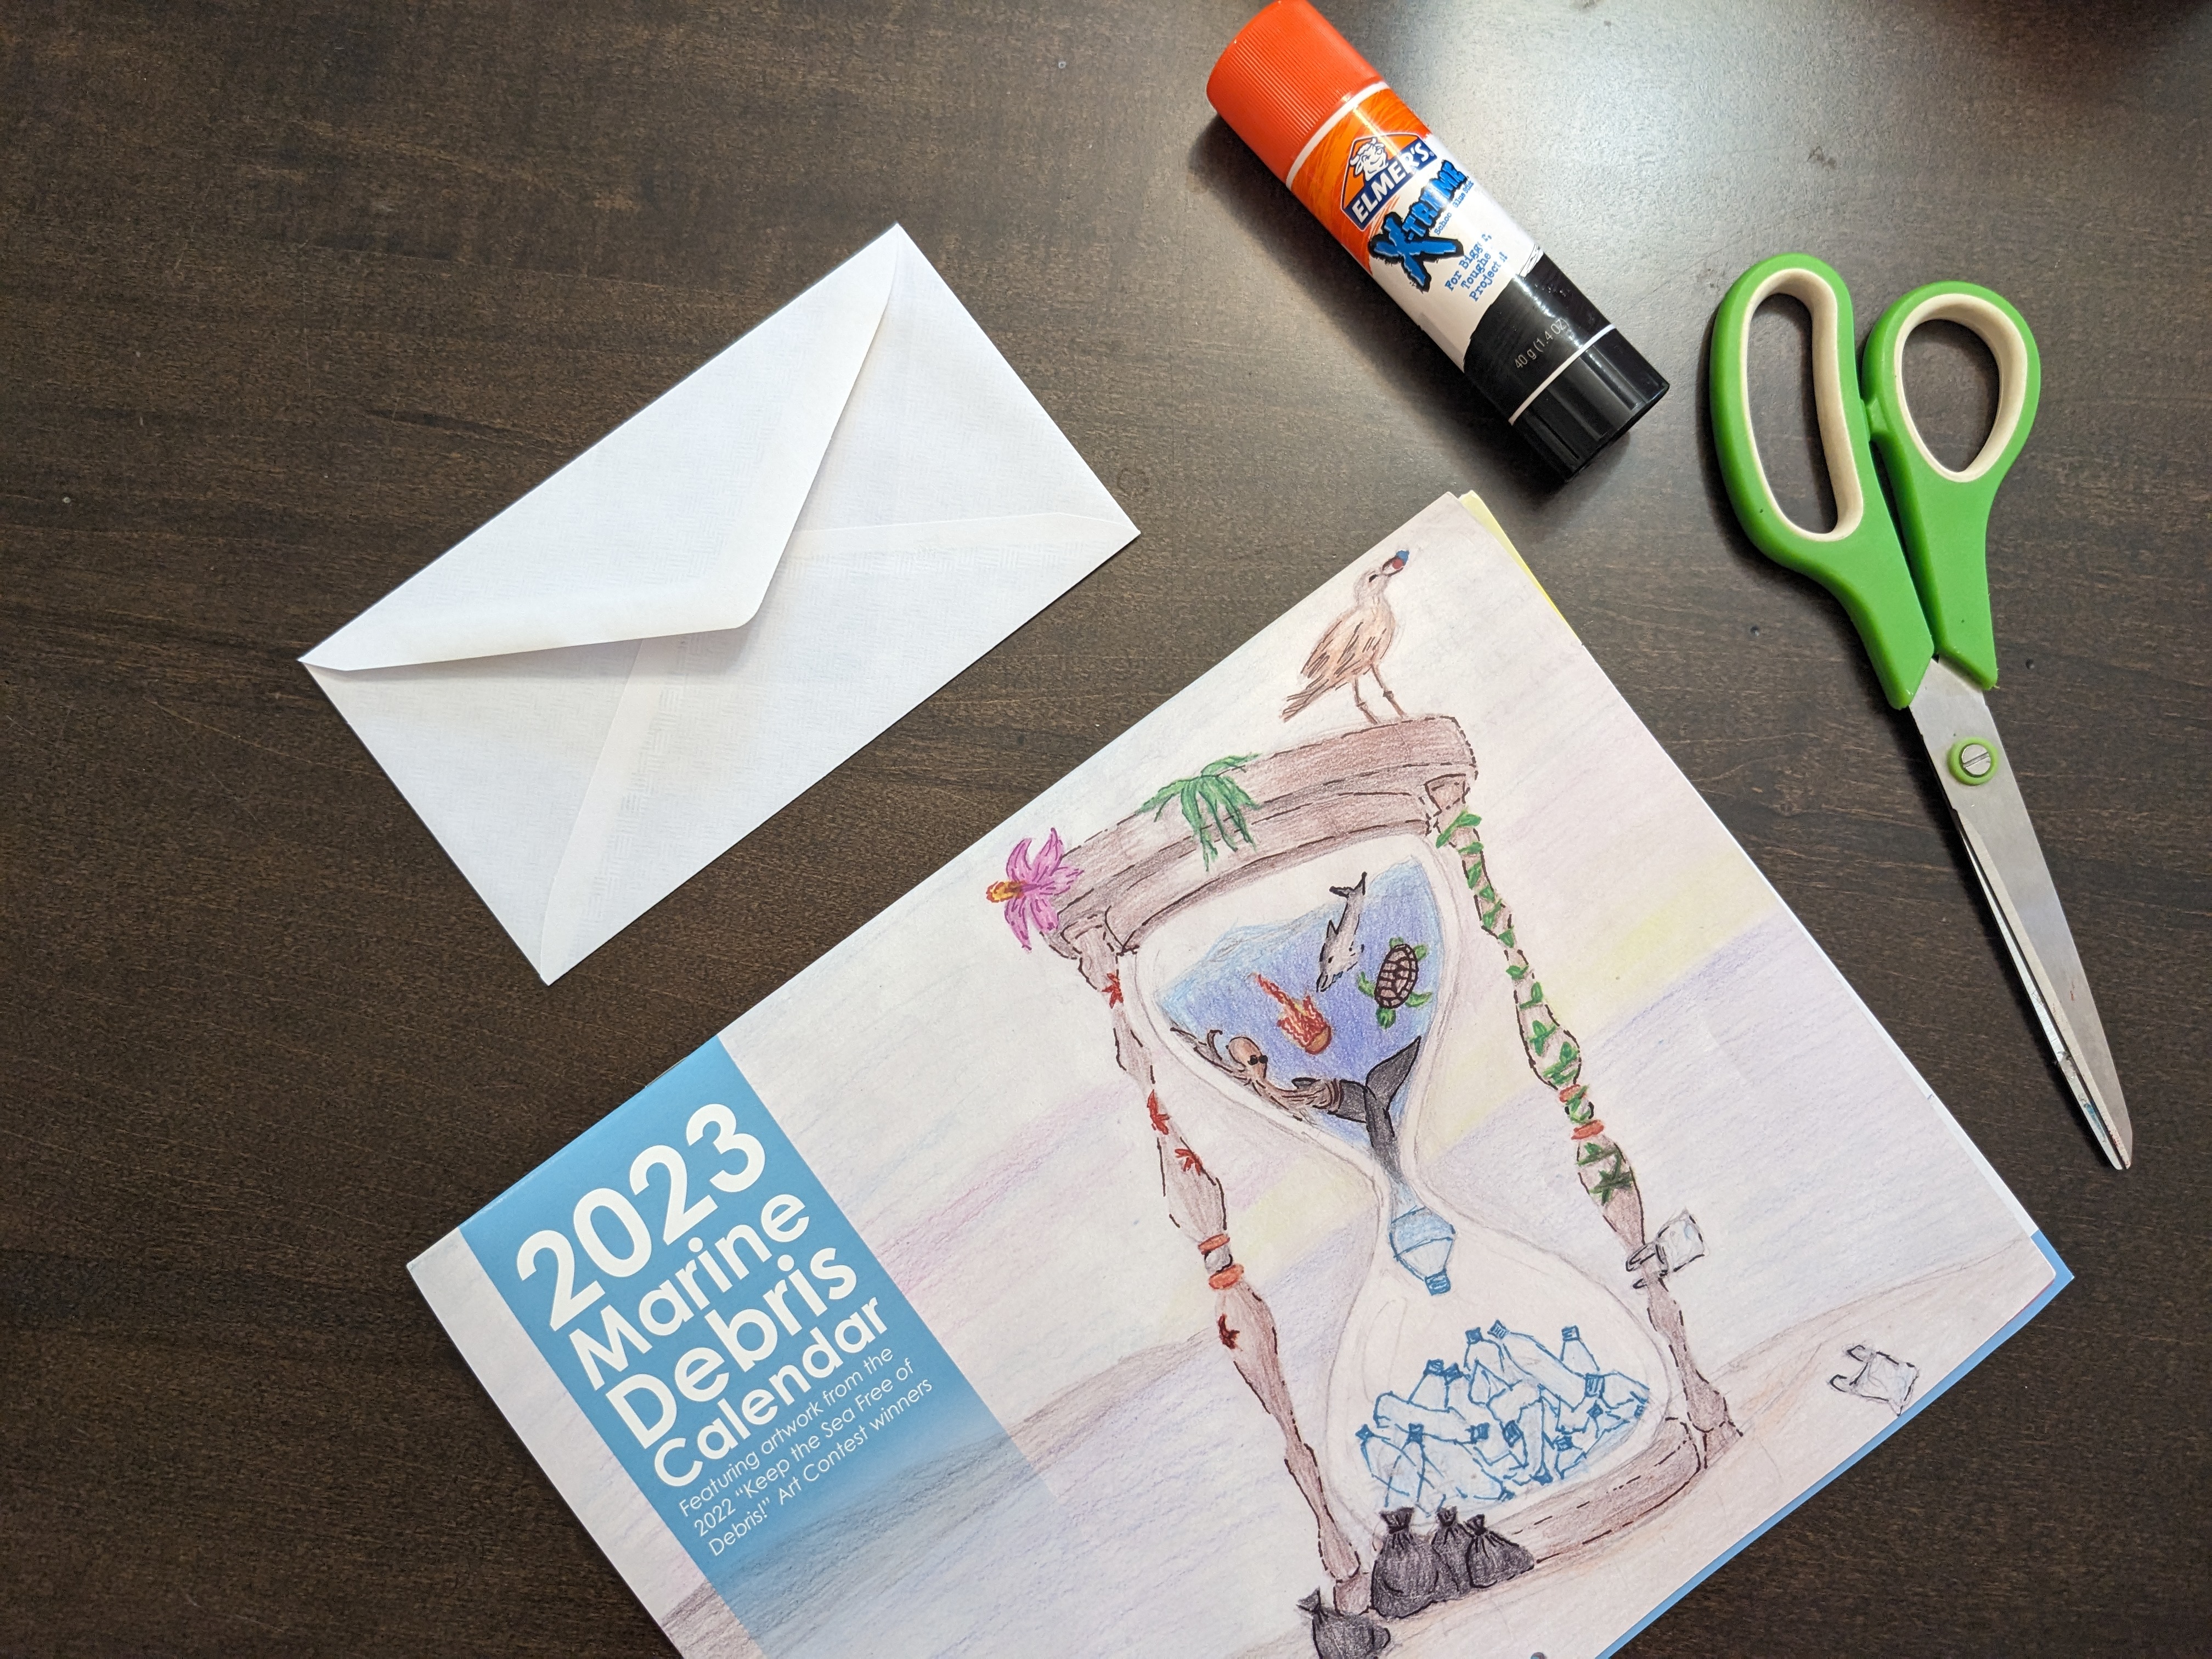
Supplies:
Outdated calendar or other scrap of paper
Template envelope
Scissors
Glue stick
Steps:
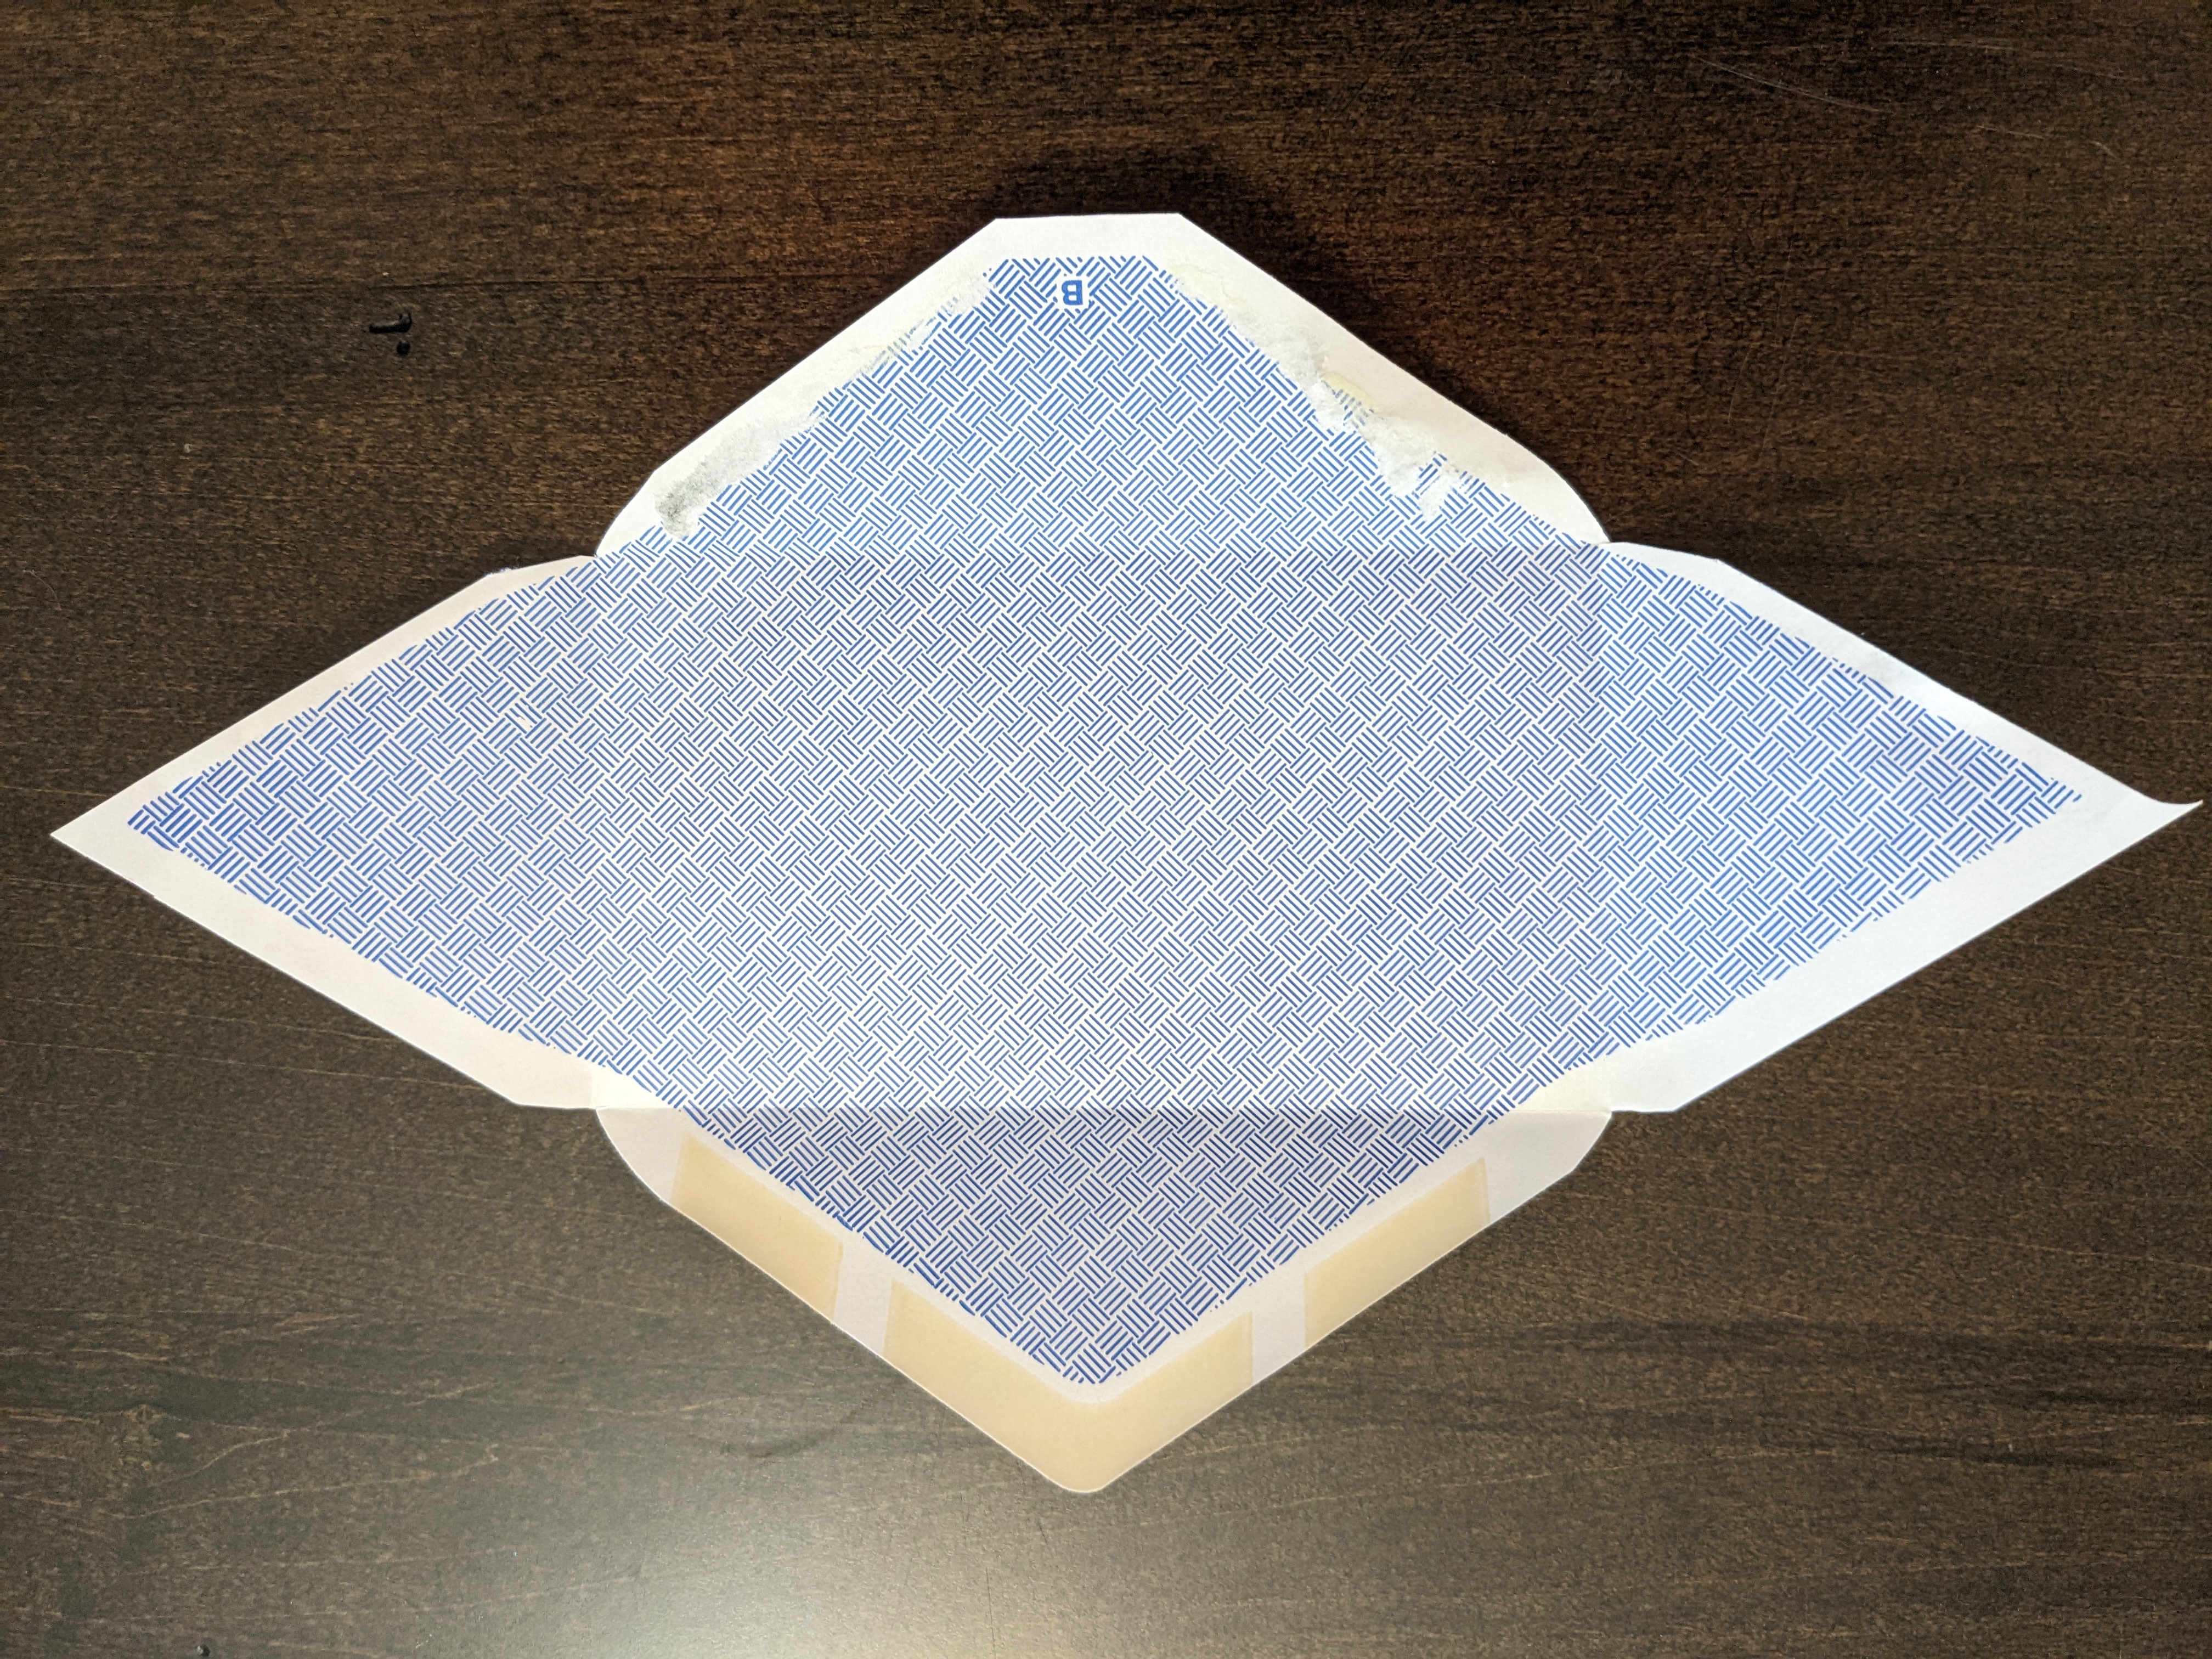
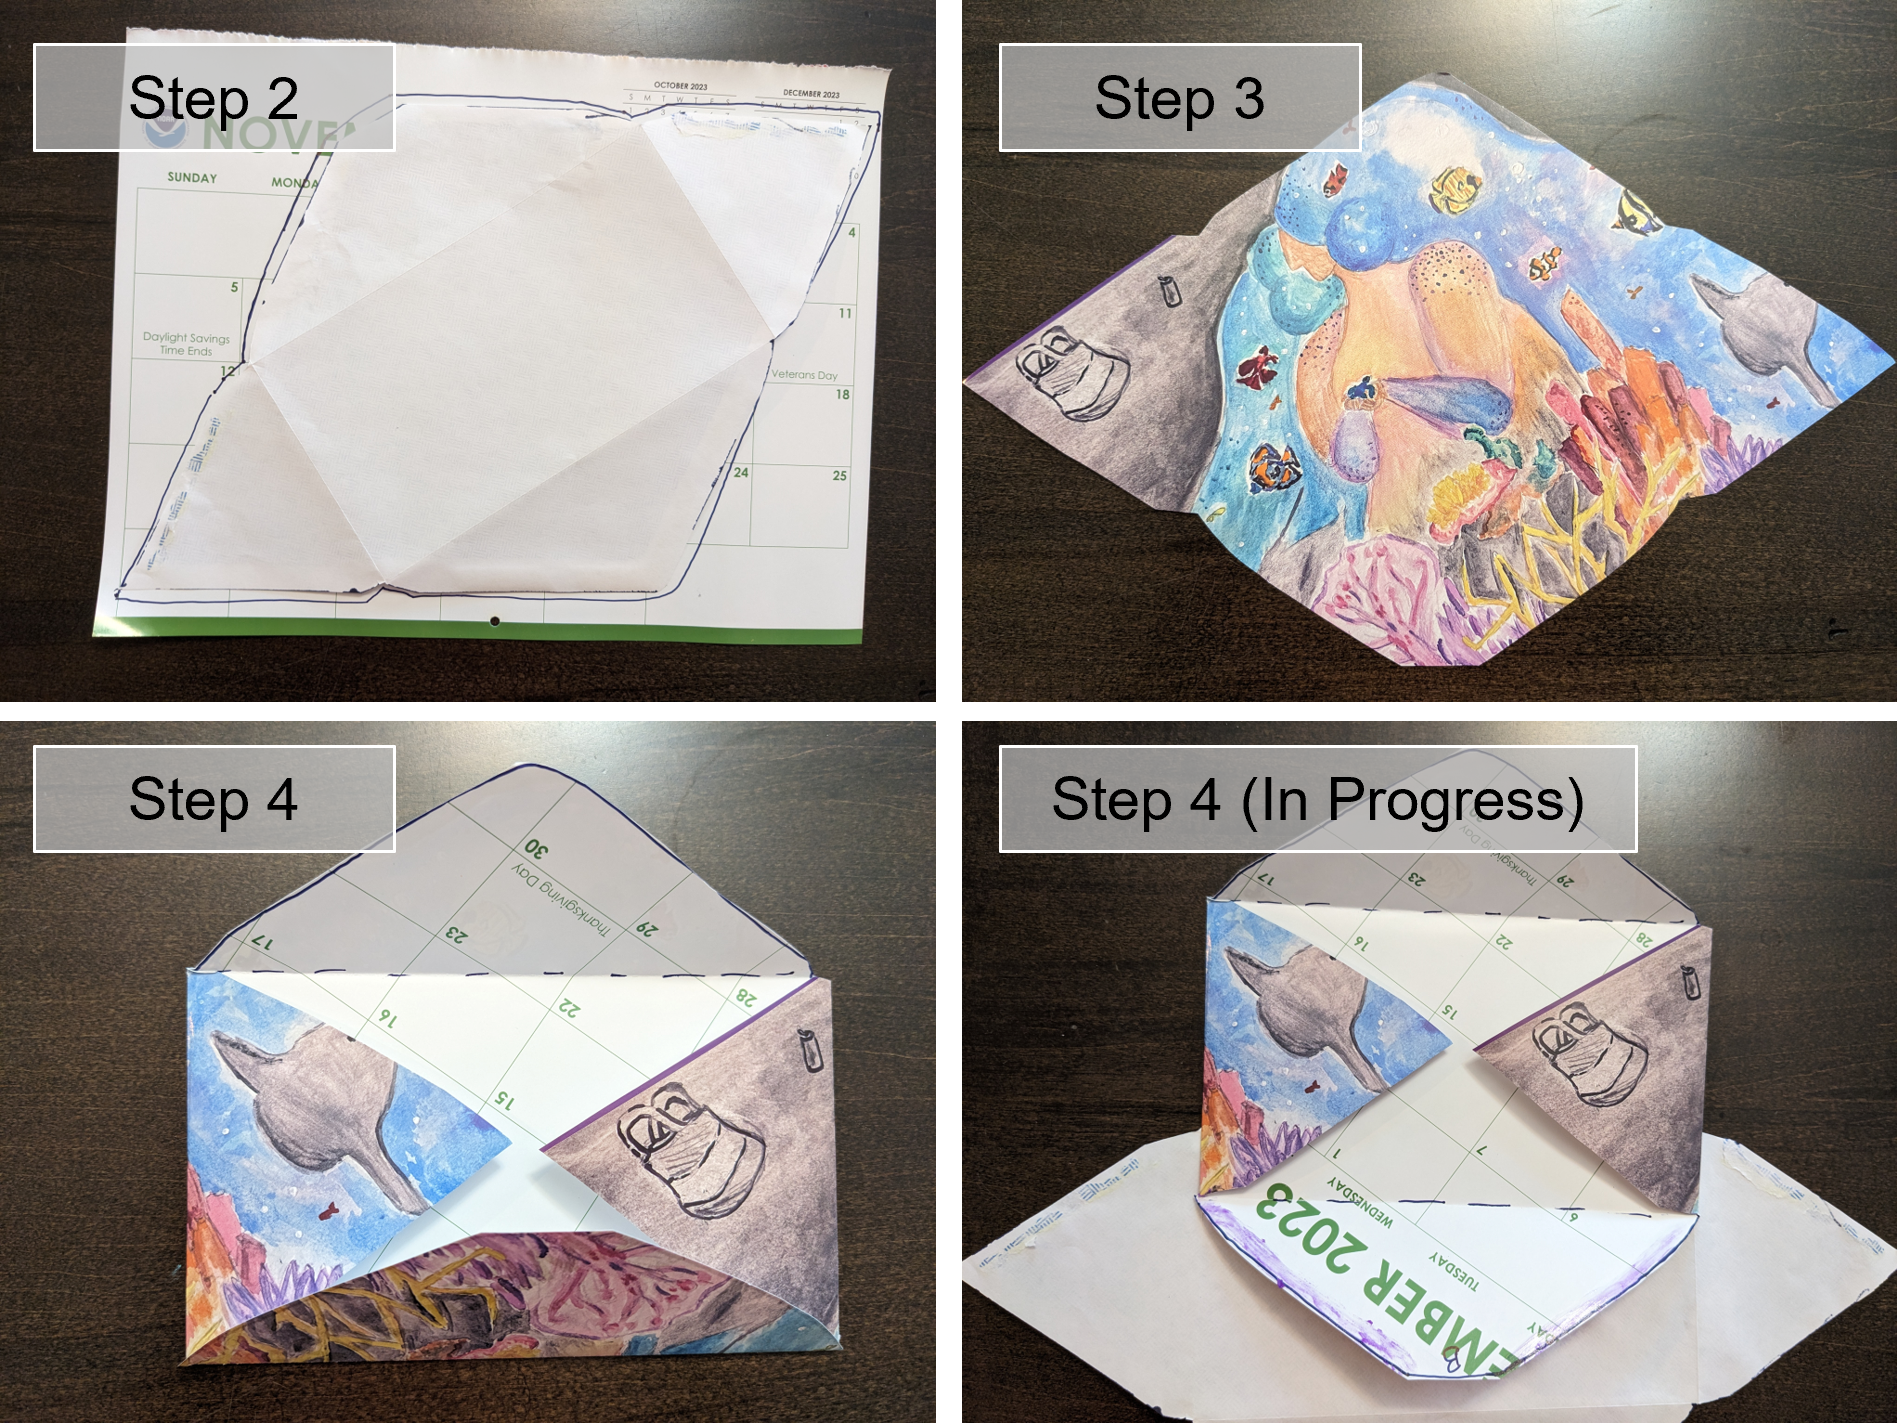
Gently deconstruct an actual envelope, that once unfolded, will fit the size of the calendar page. Pro tip: if you plan to make several envelopes, trace the deconstructed envelope onto a cereal box and cut it out to create a more stable template.
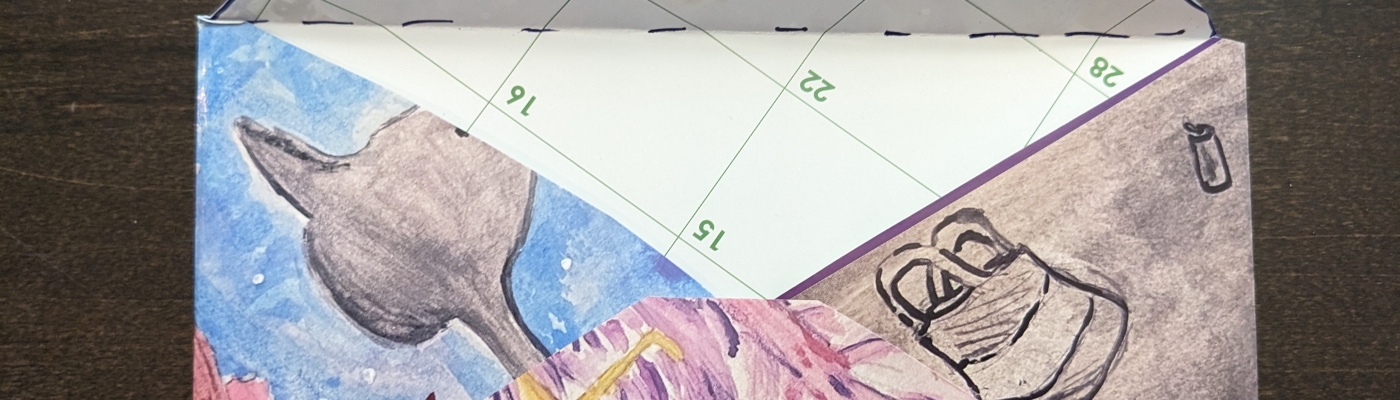
Trace the envelope onto the calendar in pen or pencil.
Cut out the envelope shape.
Flip the envelope over and fold up the back tabs and glue or tape them into place.
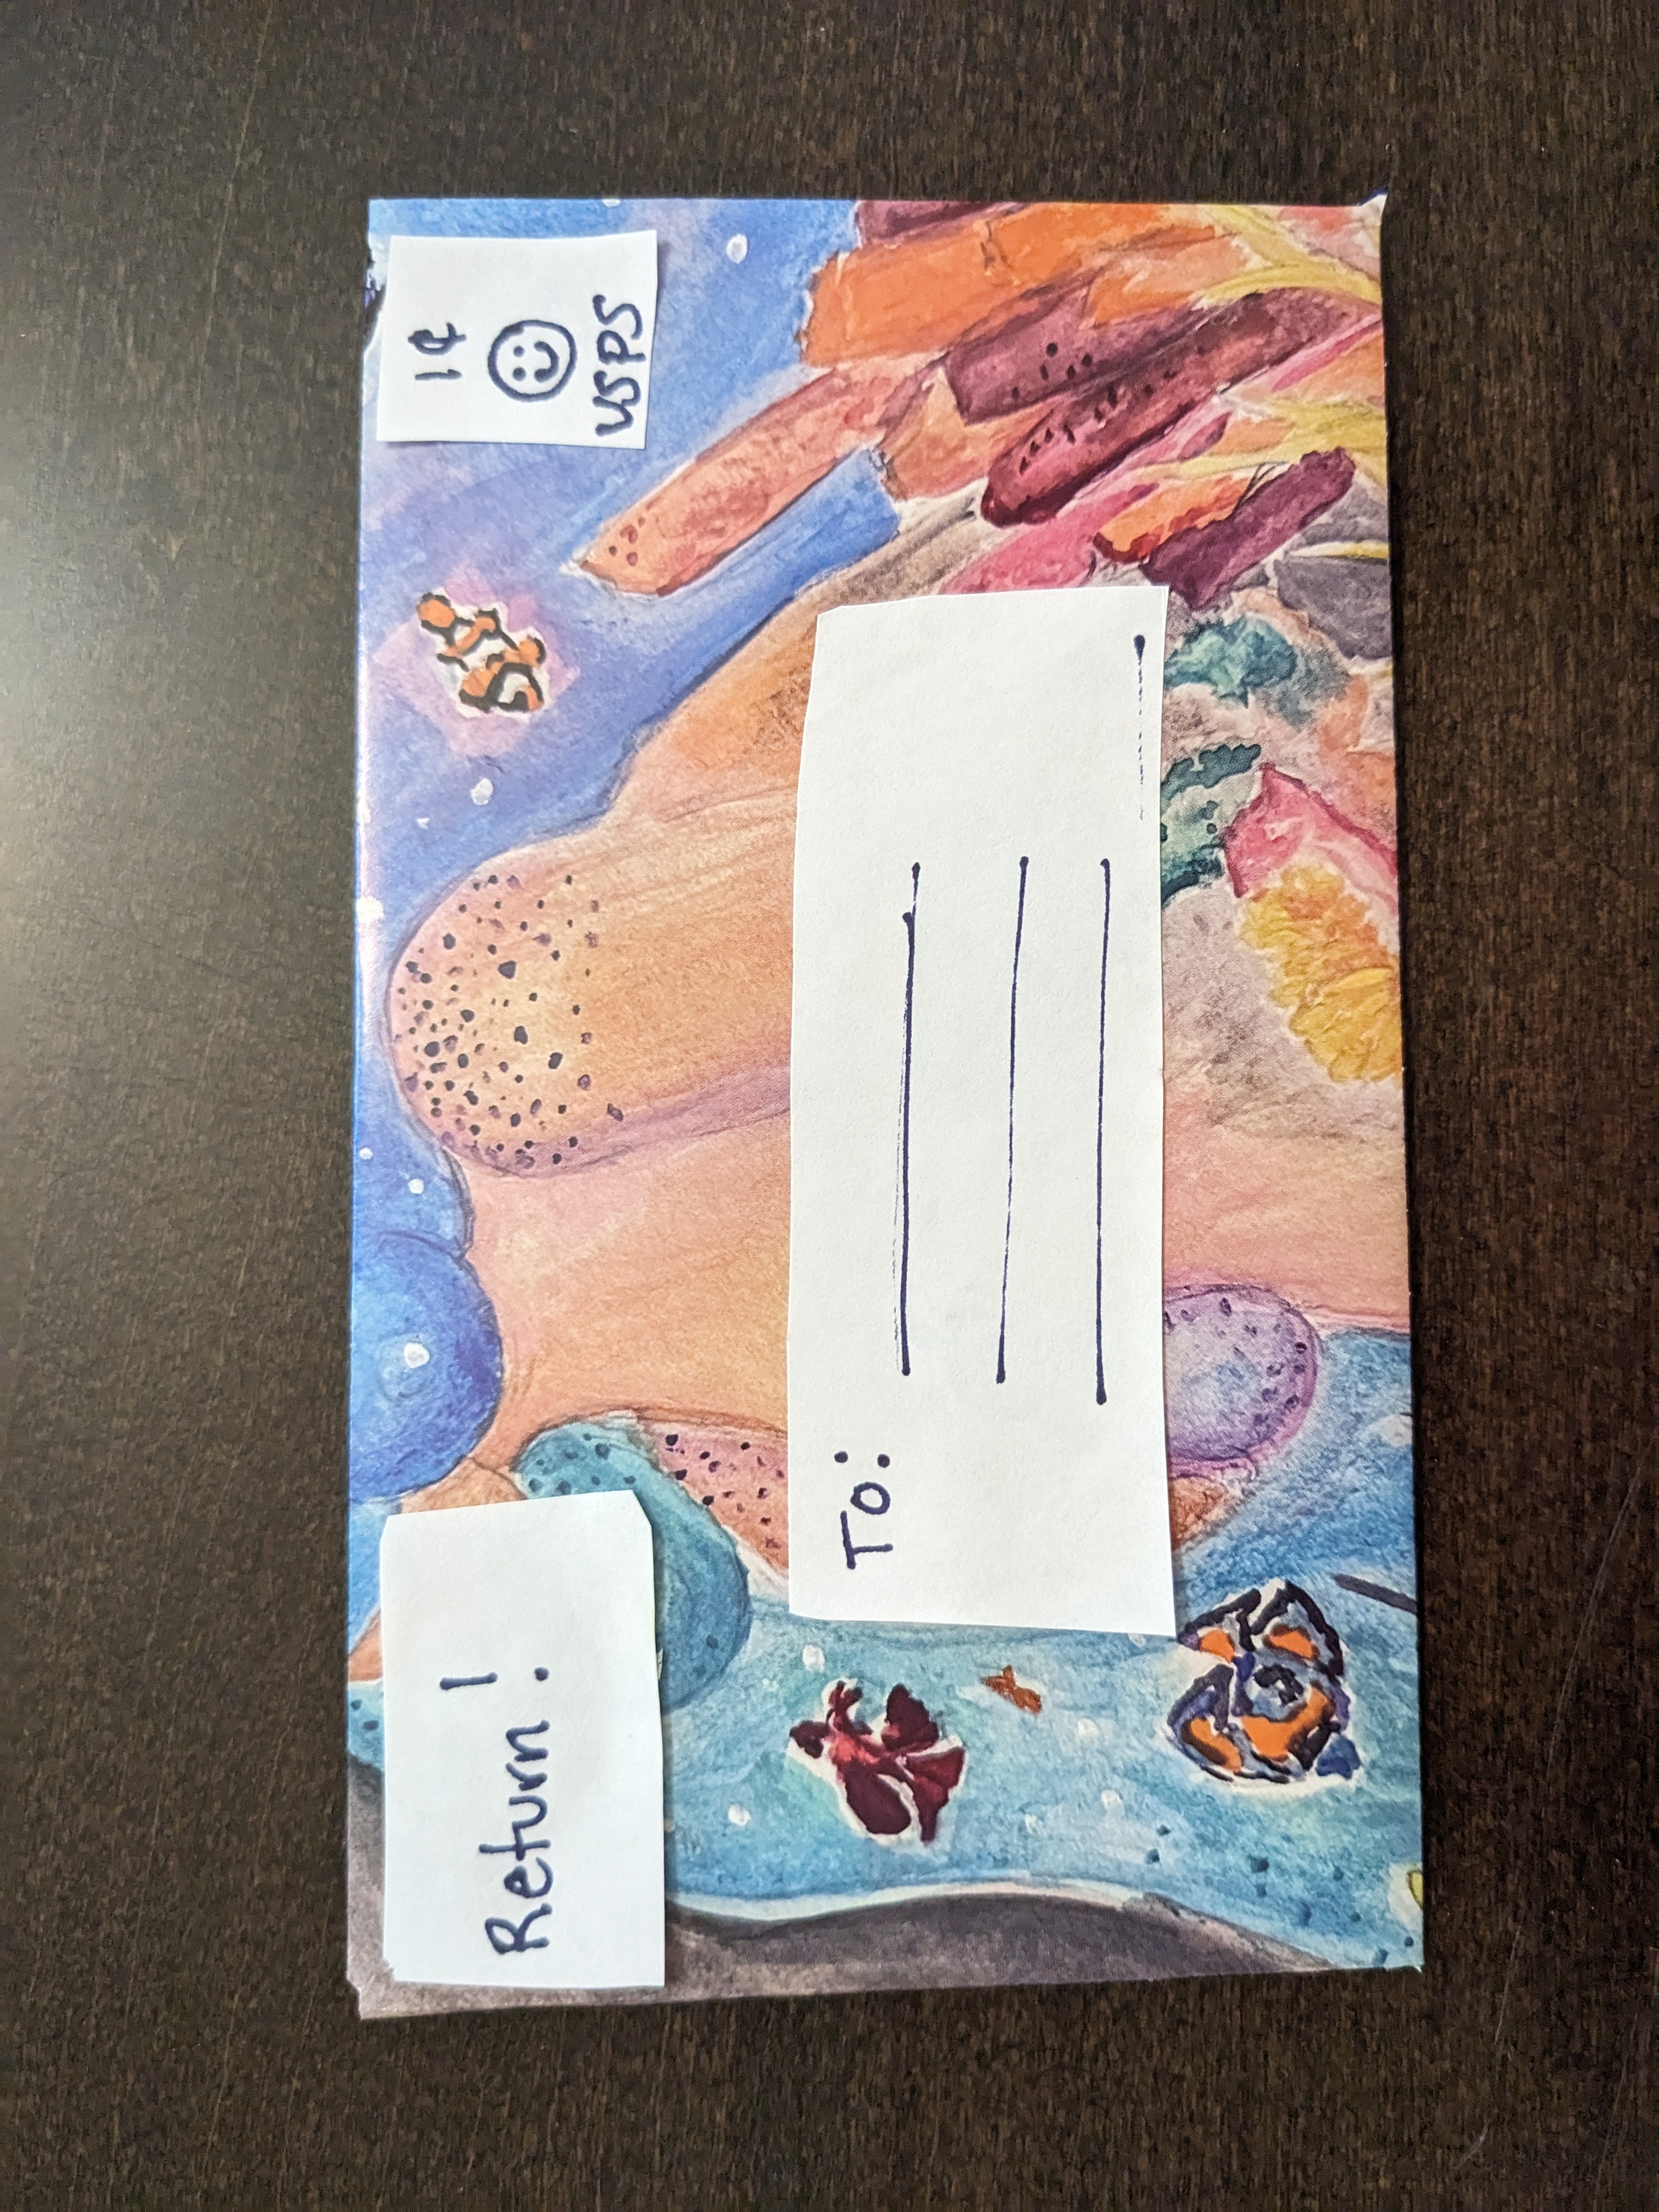
Turn the envelope over and write the address in permanent marker, or add an address label.
Add postage and mail it!