 An official website of the United States government.

Plants are great additions to any room, but it can be a real hassle getting them everything they need to thrive. And while it's important for both you and your plants to stay hydrated, plastic bottles can be hard to recycle effectively. This self-watering terrarium solves both of those problems! The string in the bottom acts like a wick, pulling water up from the base and into the soil, while the top seals in all that humidity. Plus, you can use it over and over as the plants continue to grow!
This terrarium is made from one-liter bottles, but you could use smaller or larger bottles depending on what you have! You could also simplify the project into a mini-greenhouse. Directions for that activity, as well as additional extensions for STEM projects, are below!
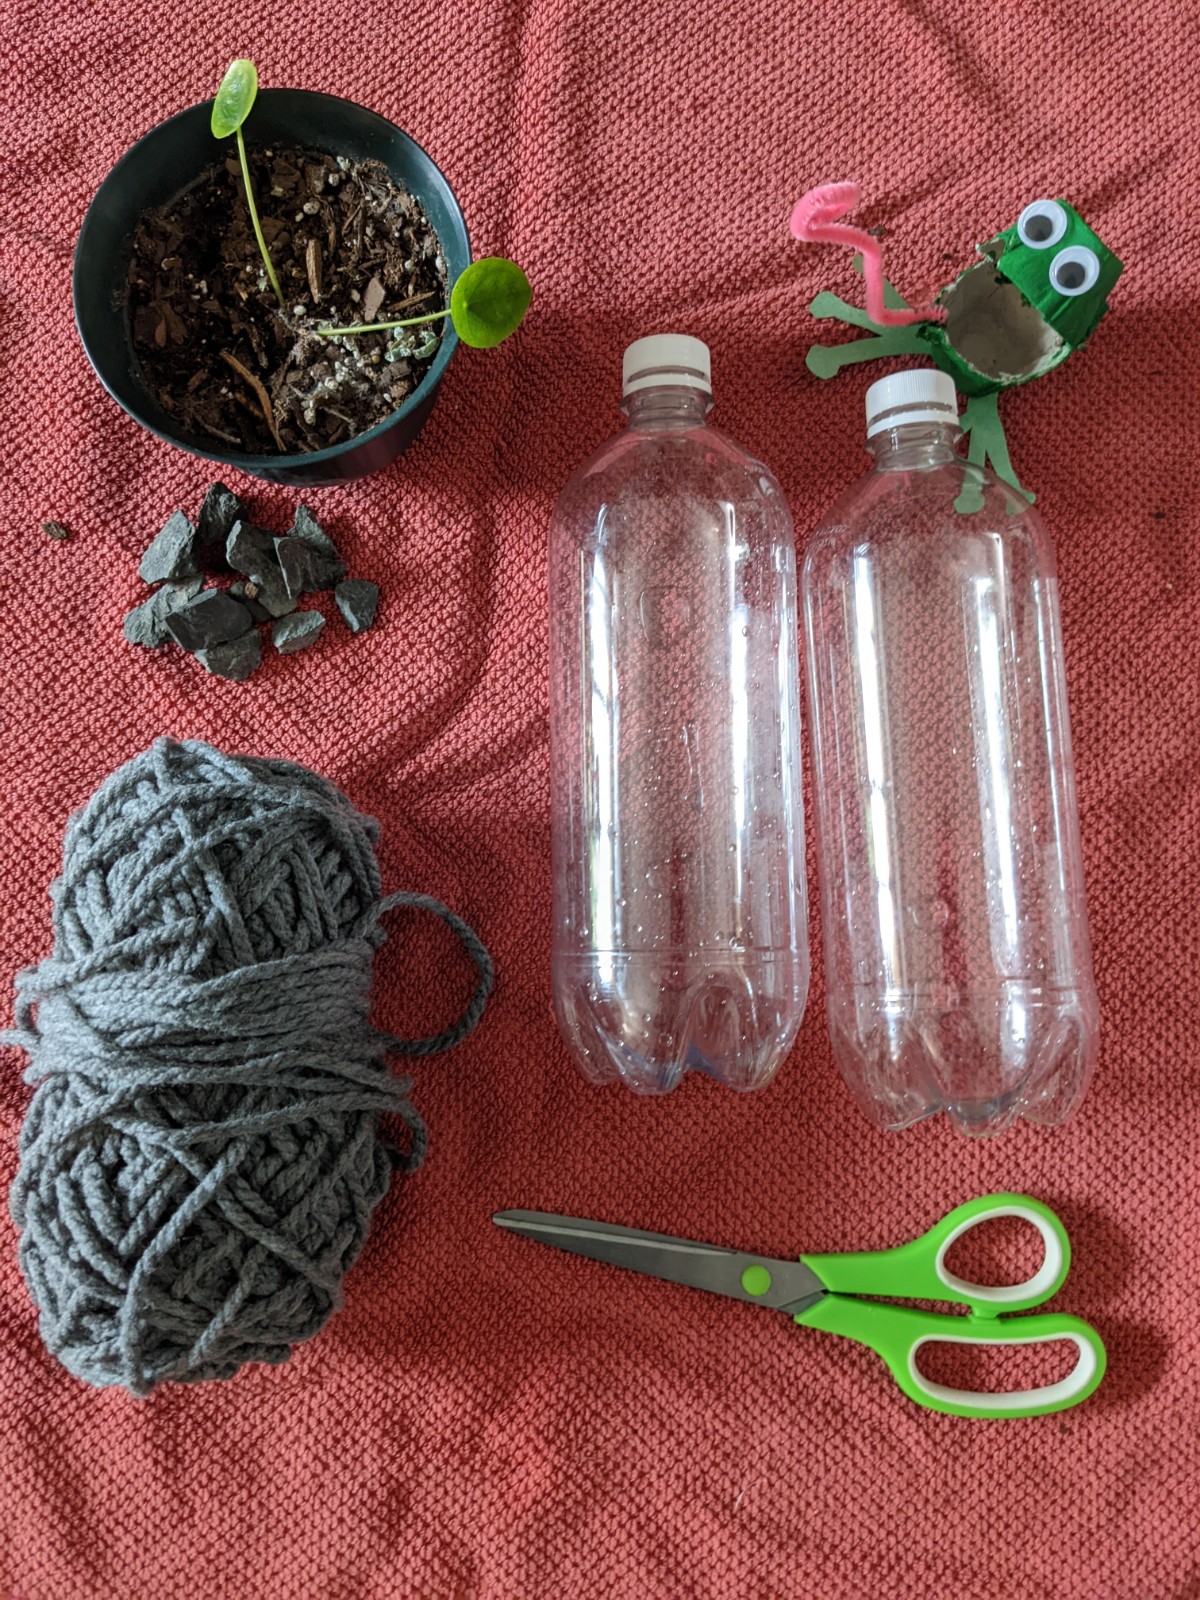
Supplies:
- Two bottles
- Yarn or string
- Scissors* (child-safe scissors won't be strong enough to cut the bottles and caps, so all cutting activities should be completed by adults or with adult supervision)
- Rocks (optional)
- Plant or seeds and soil
Steps:
- Cut the bottles into two pieces each. One bottle should be cut about 2/3 to the bottom, and one should be cut about 2/3 to the top.
- Cut a hole in one bottle cap and push a strand of yarn through the hole.
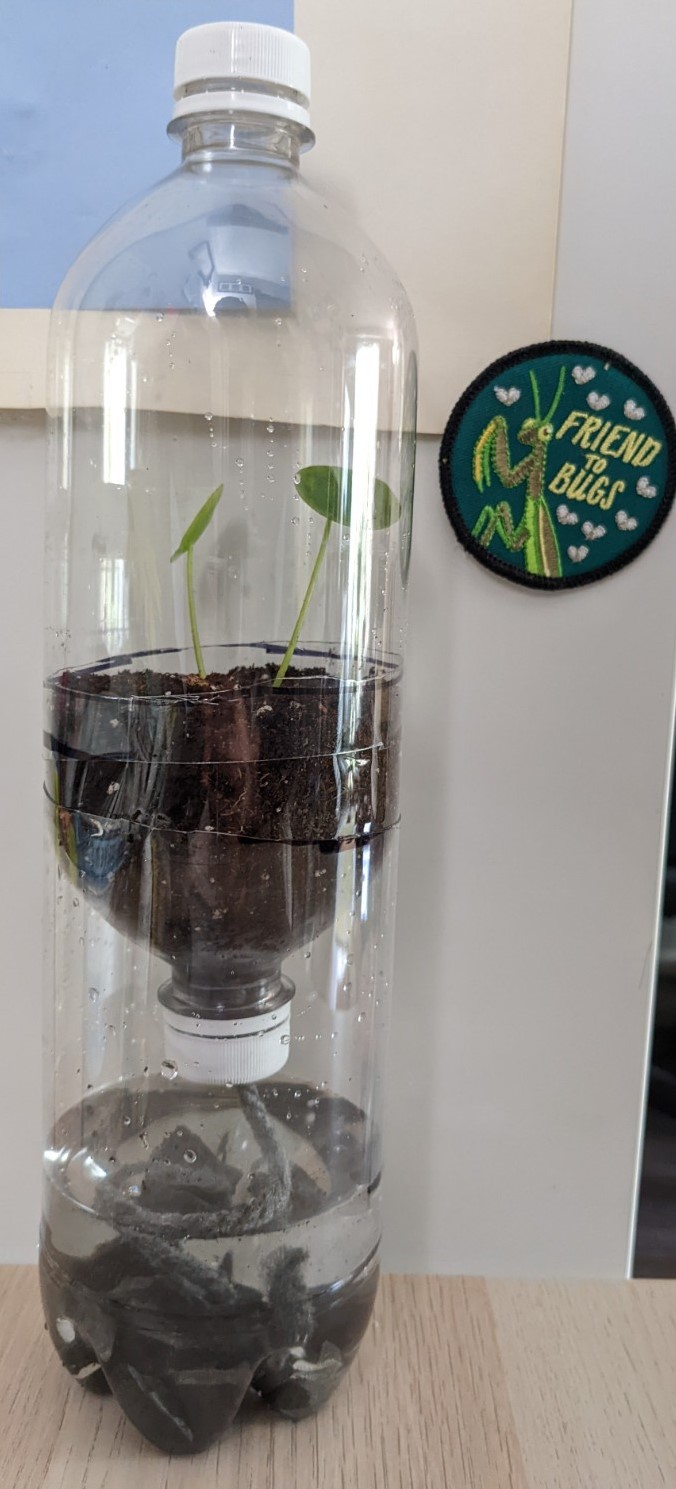
- Put the cap and string onto the shorter top section and nest it upside-down into the longer bottom section, with the string hanging into the bottom.
- Fill the bottom section with water and your rocks, and fill the top section with your soil and plant. (The rocks are optional here - I just liked the way they looked.)
- Secure the top of your terrarium! Take the longer top section and fit it over your plant and soil. If it isn't fitting, try cutting a small slit in the bottom and wiggling it on (this might take some adjusting, depending on your bottles).

Watch your plant grow!
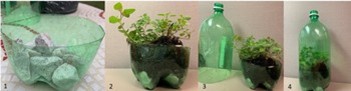
Simplified Greenhouse Steps:
This activity uses similar supplies. You'll only need one bottle and will not need any string.
- About 4-5 inches from the bottom of the bottle, cut halfway around the base. The bottle now has a "top" and "bottom" section. The bottom section will hold the pebbles, soil, seed or plant; the top section will be the cover of the greenhouse.
- Fill a thin layer of pebbles in the bottom section of the bottle. Next, add potting soil until it just reaches the top edge of the container. Plant the seeds following the directions on the package or dig a small hole in the soil to plant your fern, succulent, etc. Gently pat the soil in place and lightly water.
- Using the top section, cut a small slit, about 1 inch high, from the bottom edge. Next, place the top section over the bottom section allowing the 1 inch slit to fit tightly around the bottom section. Note: You may need to gently squeeze the bottom section to help the top section fit securely together.
- Place the plants in a sunny area and water as needed. Measure and record the growth of the plants.
Bonus Activity Ideas and Extensions
Keep the momentum growing with these additional planting activities for the home and garden.
- Measure and record the growth of the plants in your greenhouses!
- To turn the greenhouse into a habitat, either place small toy animals inside the greenhouse or stick plant/animal stickers on the outside of the bottle.
- Use egg cartons (or any kind of carton!) as seed-starting nurseries (you can also use plastic bags or domed lids from drink containers to increase humidity).
- Repurpose t-shirts or other cloth (like old socks!) as plant ties - they're soft and stretchy to support your tomatoes, peas, and other leggy climbers while they grow.
- Regrow food scraps like pineapple tops, avocado pits, and more to cut down on food waste and create fun projects.
.")